Capturing your screen on a Chromebook is straightforward once you know where to look. Chrome OS offers several built-in methods to take screenshots, from quick keyboard shortcuts to a dedicated screen capture tool in your system tray.
Whether you need to save an error message for tech support, share a funny conversation, or document your work, knowing how to screenshot on a Chromebook saves time. The process takes seconds and automatically saves your image as a PNG file in your Files app.
You can capture your entire screen, select just a portion, or even record video. Each method serves different needs, and you can switch between them based on what you’re trying to accomplish.
How to Screenshot on a Chromebook?
Chrome OS gives you three main ways to capture your screen. Pick the method that fits your situation best.
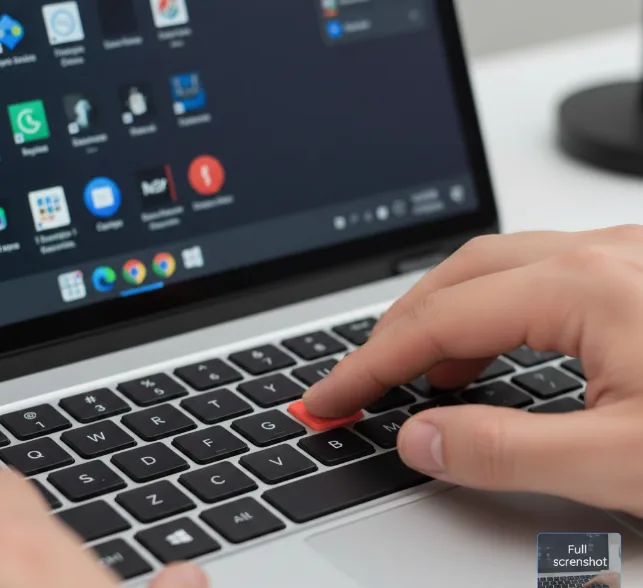
Capture the Full Screen
Press the Ctrl and Switch Window keys together. The Switch Window key sits above the number 5 or 6 key and looks like a rectangle with two lines beside it.
Your Chromebook saves the screenshot as a PNG file in your Files app automatically. A small preview appears in the corner of your screen to confirm the capture worked.
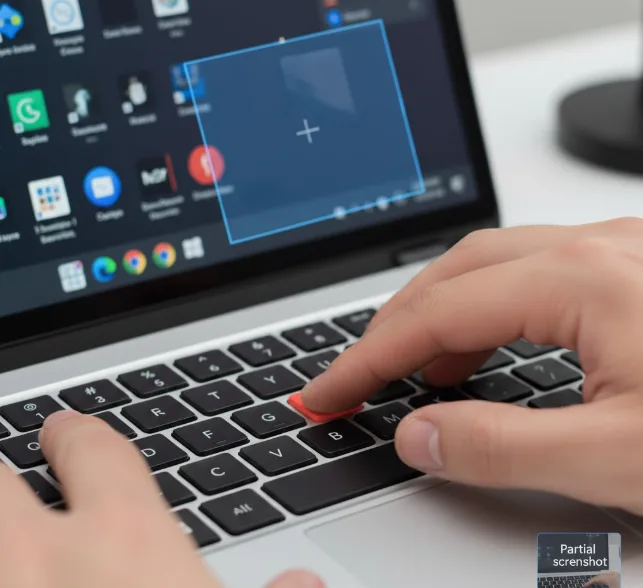
Capture Part of the Screen
Press Ctrl, Shift, and the Switch Window key at the same time. A crosshair cursor appears on your screen.
Click and drag to draw a rectangle around the area you want to capture. Release when you have the right selection.
Click inside your selection to take the screenshot. The image saves to your Files app just like a full-screen capture.
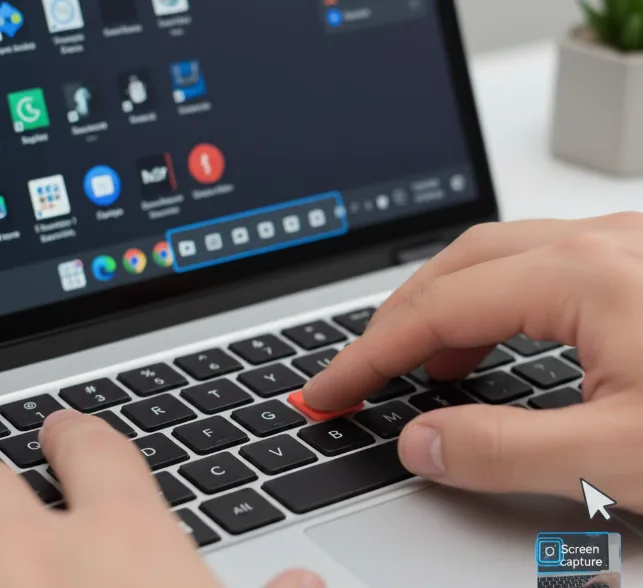
Use the Screen Capture Button
Click the clock area in the bottom-right corner of your screen to open Quick Settings.
Find and click the Screen Capture button. It looks like a square with a small circle inside.
A toolbar appears at the bottom of your screen with options for full screen, partial screen, or window capture. You can also switch to screen recording mode if you need video instead of a still image.
Select your preferred capture type and click anywhere on the screen or drag to make your selection.
Edit Your Screenshot
Open the Files app and double-click your screenshot to view it.
Use the editing tools at the bottom of the screen. You can crop, resize, adjust brightness and contrast, or rotate the image.
Click Save when you finish editing. Your changes overwrite the original file unless you use Save As to create a copy.
For more advanced editing needs, you might want to explore Android apps on your Chromebook that offer additional features.
FAQs
Where are screenshots saved on a Chromebook?
Screenshots automatically save to your Files app in the Downloads folder. You can access them immediately by clicking the preview that appears after capture or by opening the Files app from your launcher.
Can I change the screenshot save location on a Chromebook?
Yes. Go to Settings, then System, then Storage Management. You can change your default download location to Google Drive or an external storage device.
What format are Chromebook screenshots saved in?
Chromebook screenshots save as PNG files by default. This format preserves image quality and supports transparency, making it suitable for most sharing and editing purposes.
How do I take a screenshot on a Chromebook tablet?
Press the Power and Volume Down buttons simultaneously. The screen flashes to confirm capture. This works on Chromebook tablets and detachable models when the keyboard is disconnected.
Can I screenshot a specific window on a Chromebook?
Yes. Use the Screen Capture tool from Quick Settings and select the window option. Click on any open window to capture just that window without the desktop background.